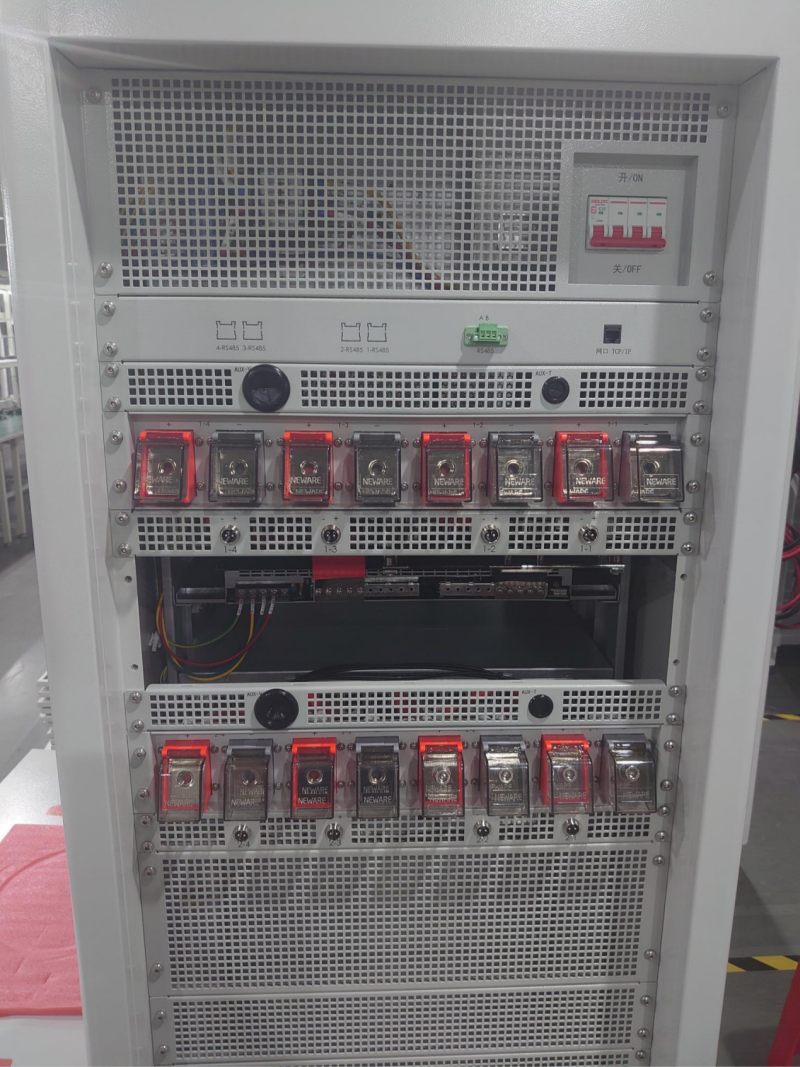
For CE6000 series testers there are three different types of tester system, CE6000 cell tester system, CE6000 module test system and CE6000 pack test system as shown in the graph below.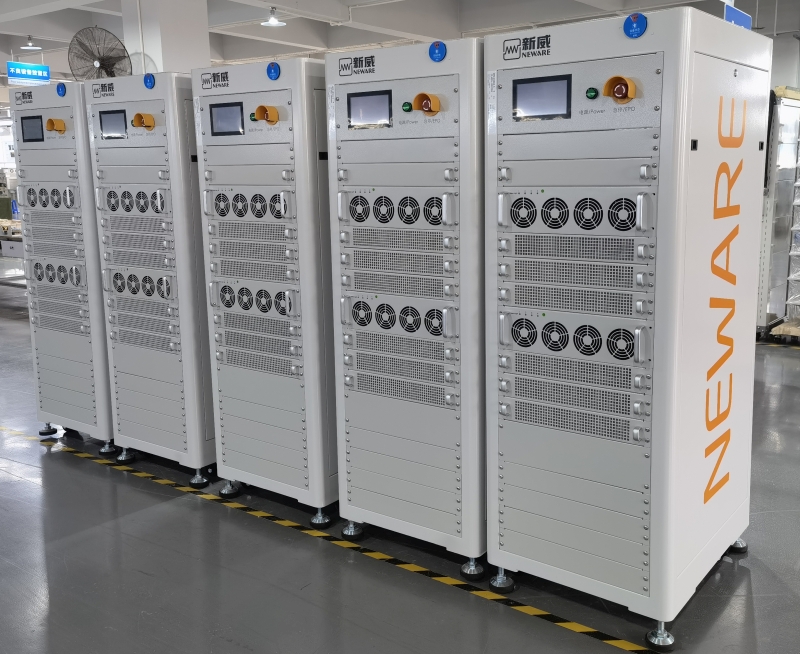
BTS8.0 latest software download link:
http://www.newarebattery.com/softwares/NEWARE_BTS_8.0.1_20231127_En.exe
Hardware Installation Guide for CE6000 Battery Test System
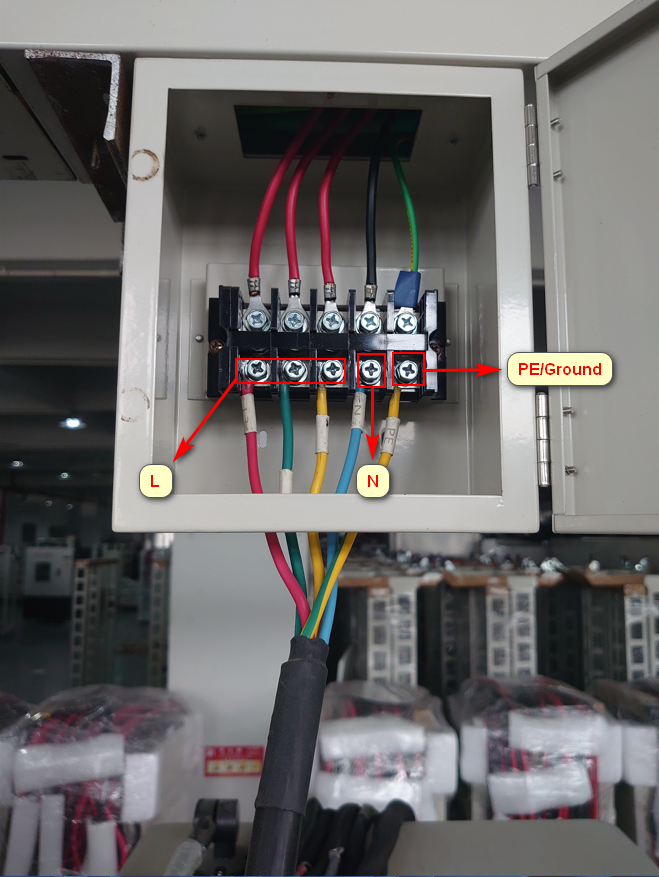
Step 1: The First step is to connect CE6000 to the power grid using the 3 phase 5 wires method. After connecting to the grid please measure the resistance of ground wire makes sure its resistance is below 4Ω to prevent electric shock.
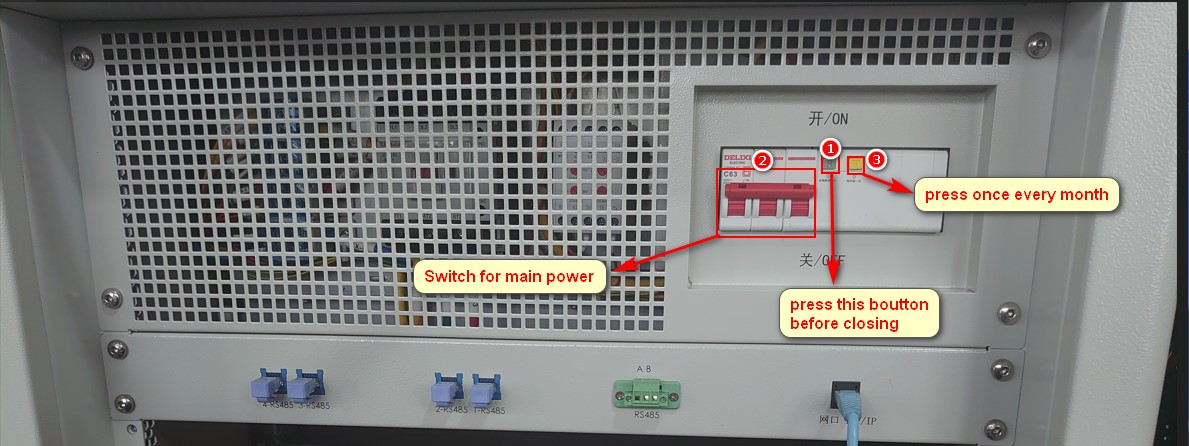
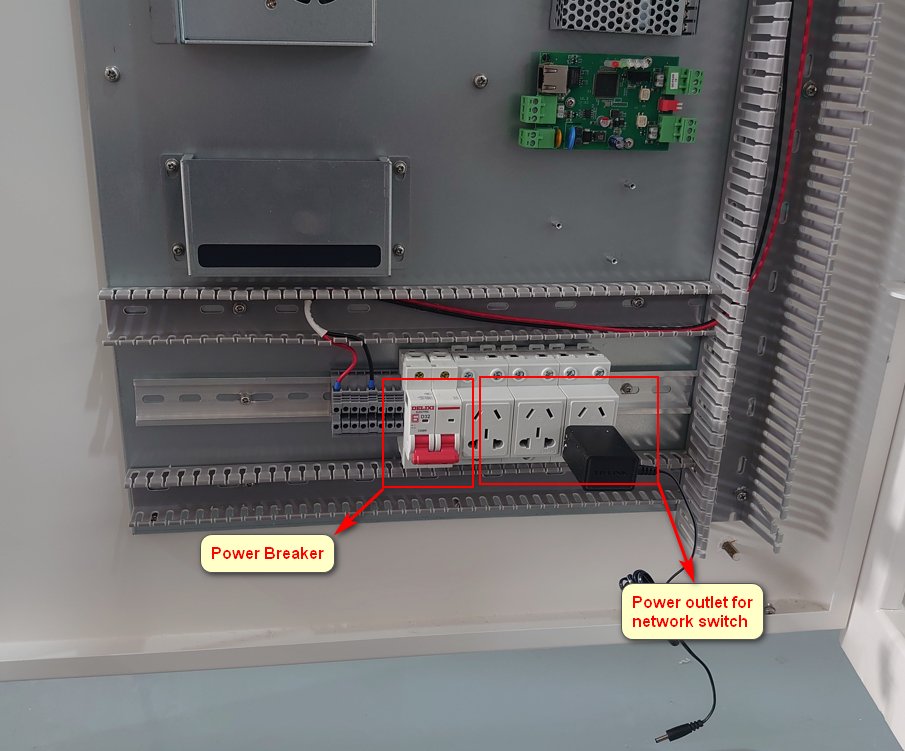
Step 2: To start the tester first we need to turn on the power breaker. Depending on the model, CE6000 series testers have different types of main power break and are located in different places. Some power breaks need to press rest bottom before closing the breaker and the test bottom need to be pressed once every month. Some of main power breaks are located in the lower back.

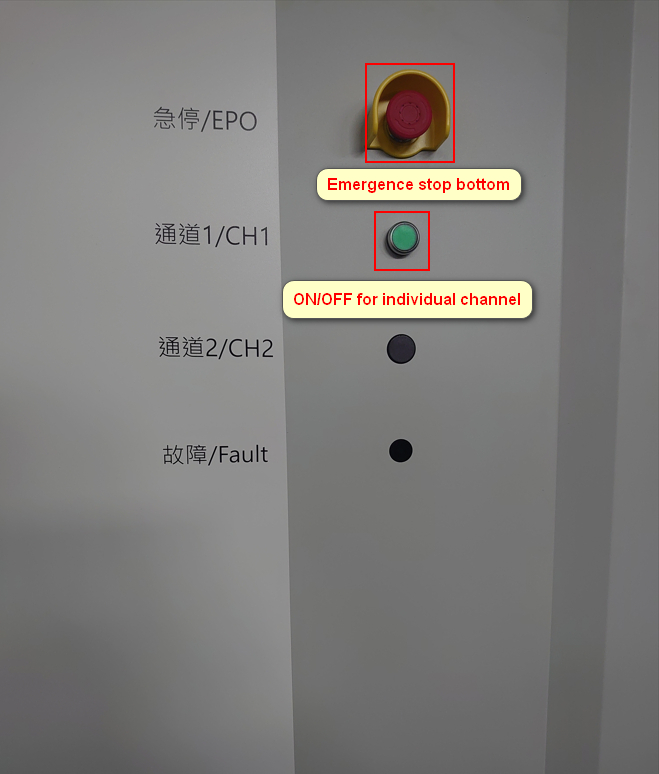
The on/off bottom is on the front, the emergence stop bottom is next to it.
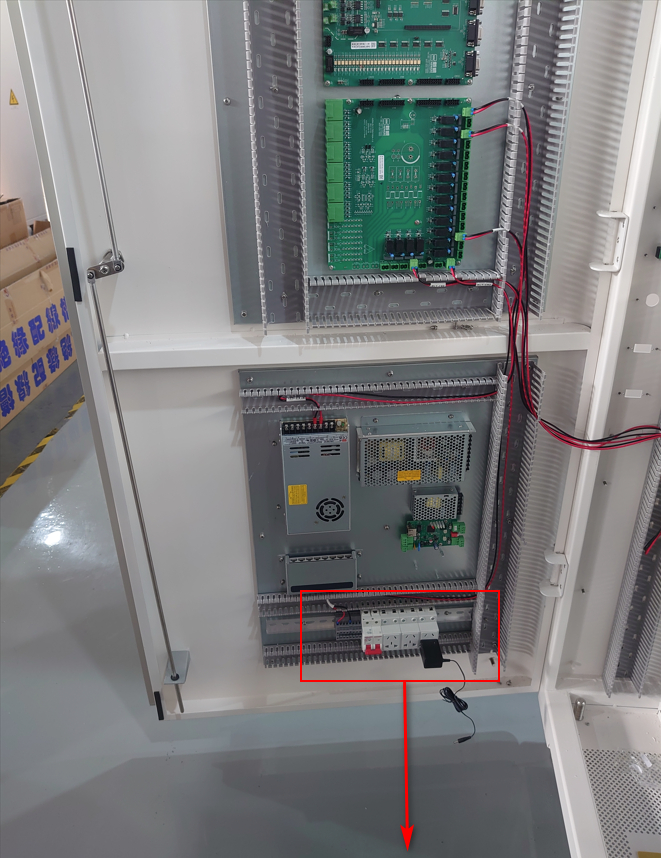
For CE6000 pack test system we need to open the front door to access the power breaker which is mounted on the bottom of the left door. Also make sure the power adapter of the Ethernet switch has been installed properly.
Step 3: How to connect tester and the battery
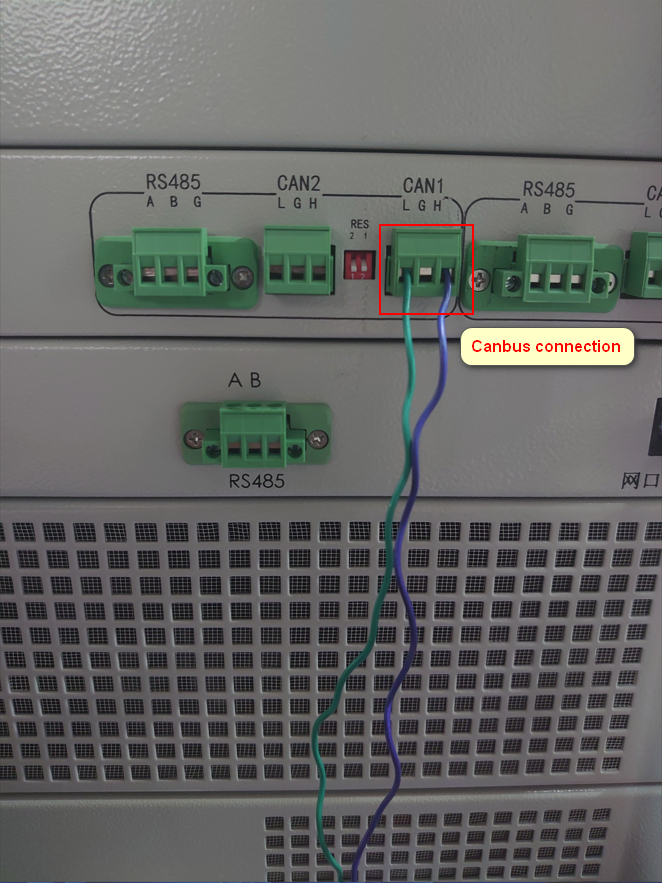
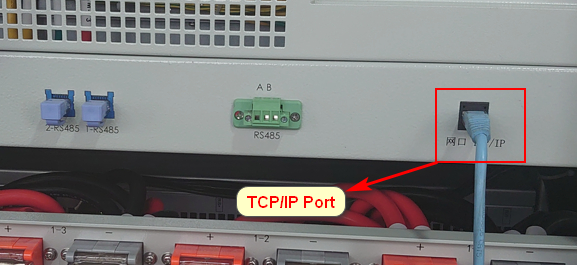
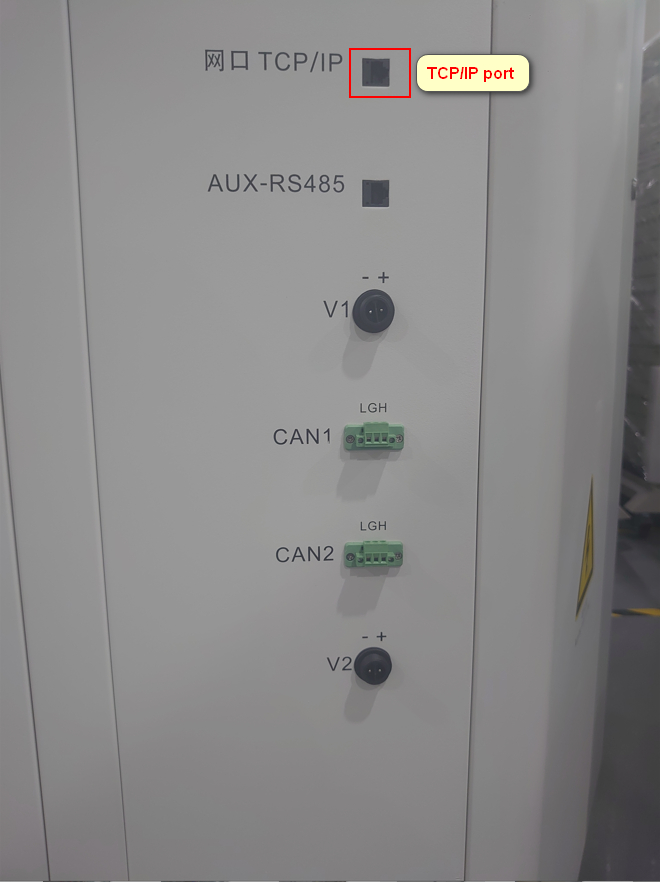
We can use Ethernet cable or twisted pair cable to connect the tester and the battery. The RS485 and CANbus connector can be located on back side of the tester as shown in the picture below.
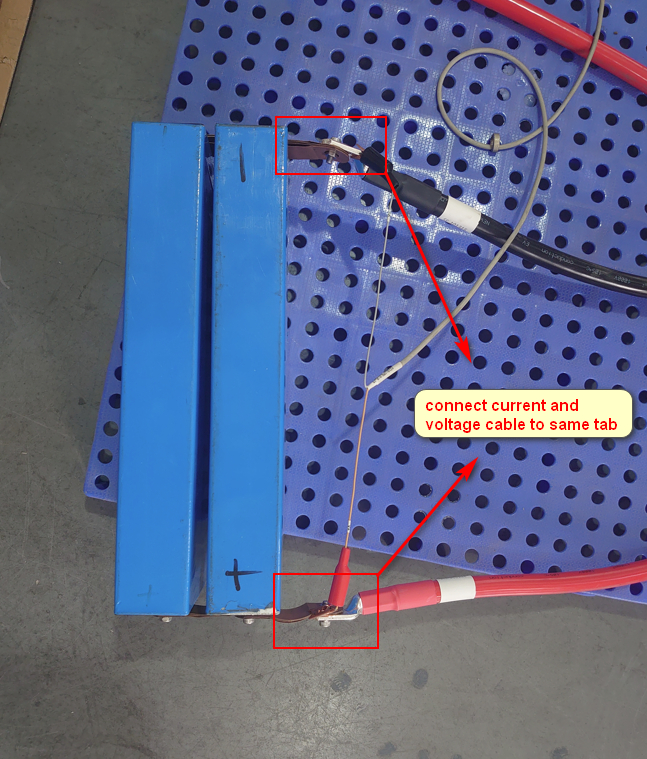
CE6000 uses 4 wire method to connect with the battery, the 162n aviation socket is used to connect voltage cable, the large ring connector is used to connect current cable.

Connect voltage and current cable to the same tab on the battery as shown in the picture below , make sure to determine positive and negative tab before connection.
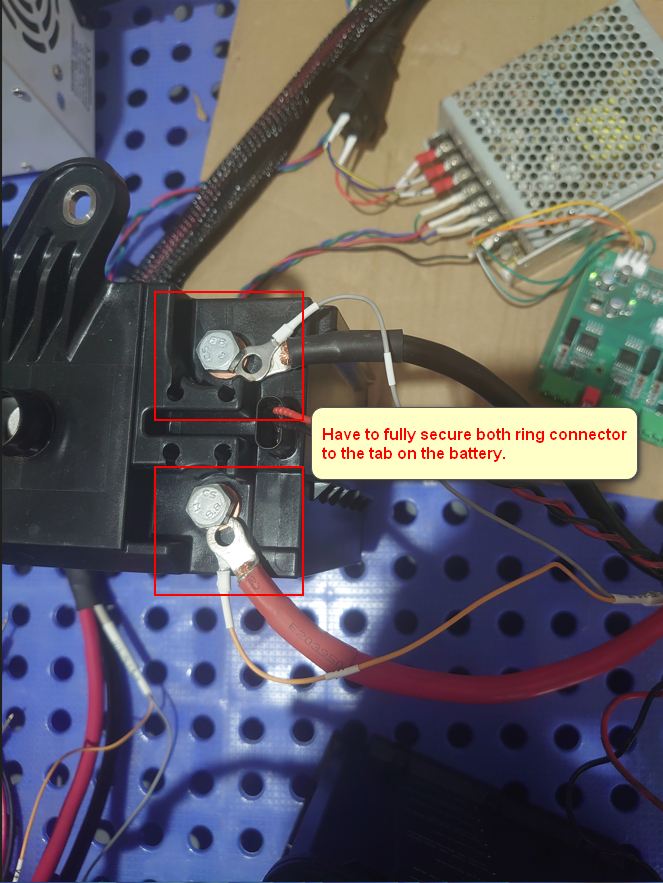
The picture below shows us the wrong way to connect the battery with the tester. In this picture, the tab of the battery and connector are not properly connected.
Step 4:CE6000 series tester has an integrated middle machine to control all the tester/lower machine. To access the middle machine, we need to use an Ethernet cable connected TCP/IP port on the CE6000 and the rj45 port on the computer.
Step 5: Network Setting
First, we need find the label that have the IP address and subnet mask information on the CE6000.
Second, we need set the IP address on the computer to the same subnet and subnet mask as the CE6000.
Step 6: Install BTS 8.0 software
First we need to download BTS 8.0 software form our website.
http://www.newarebattery.com/softwares/NEWARE_BTS_8.0.1_20231127_En.exe
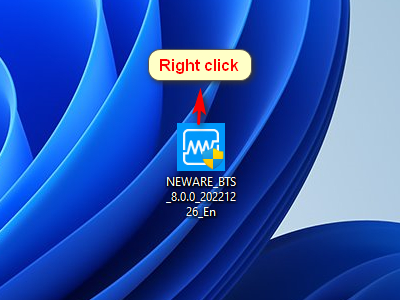
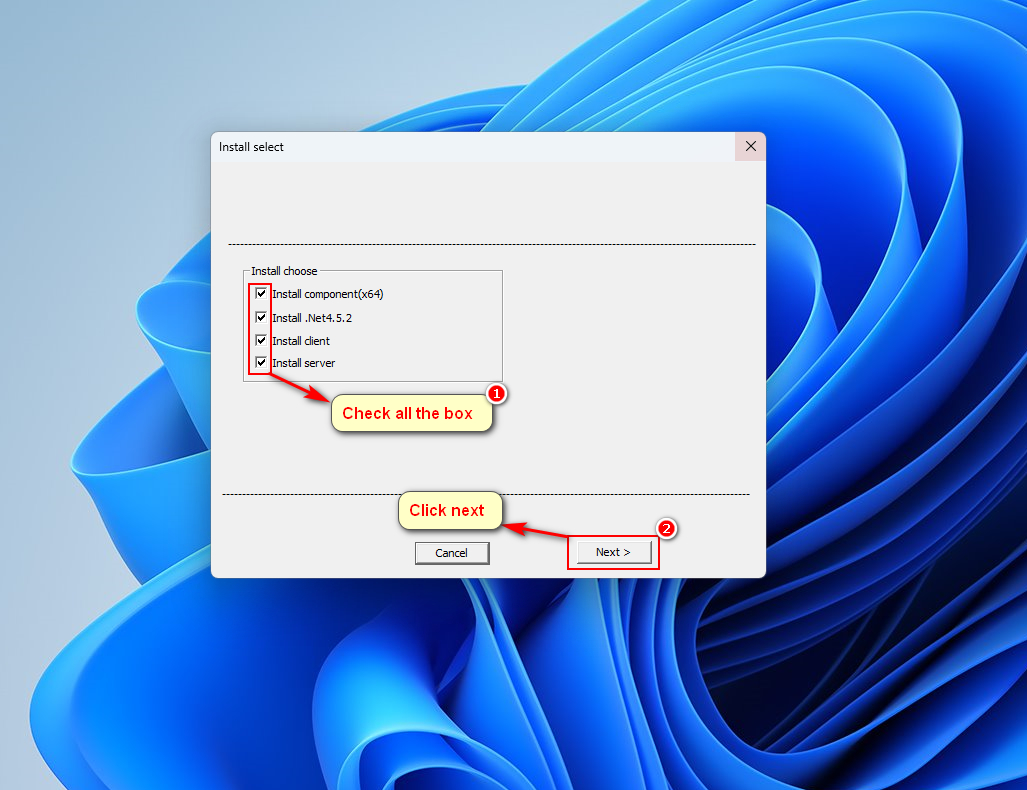
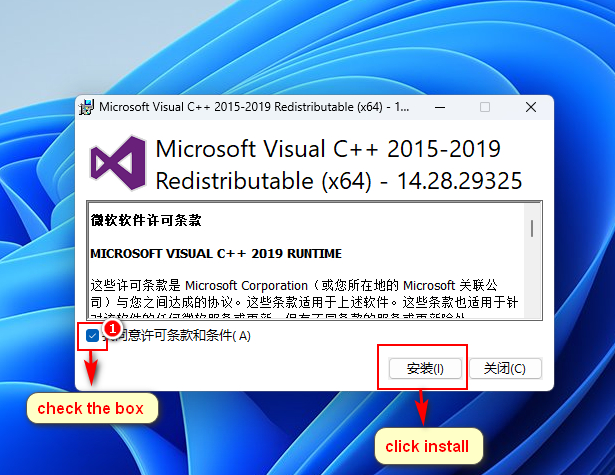
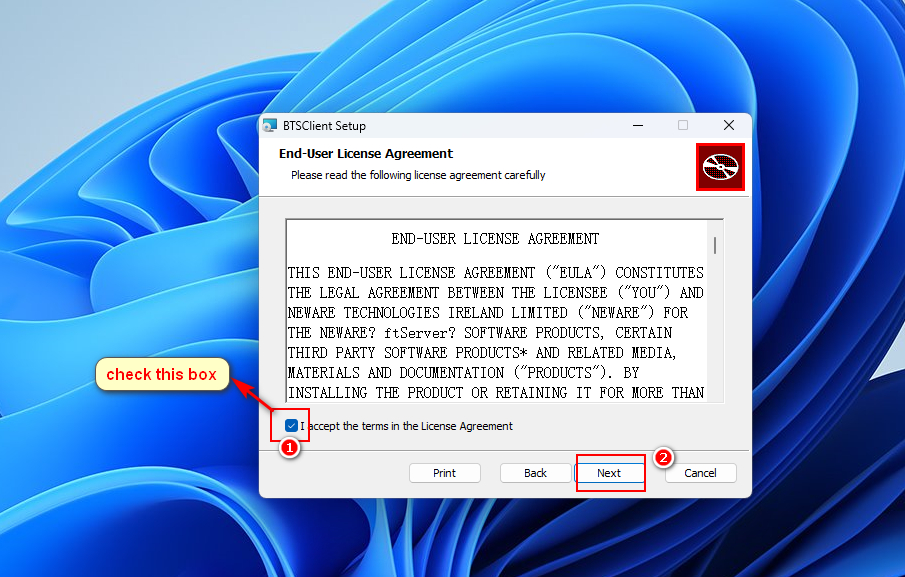
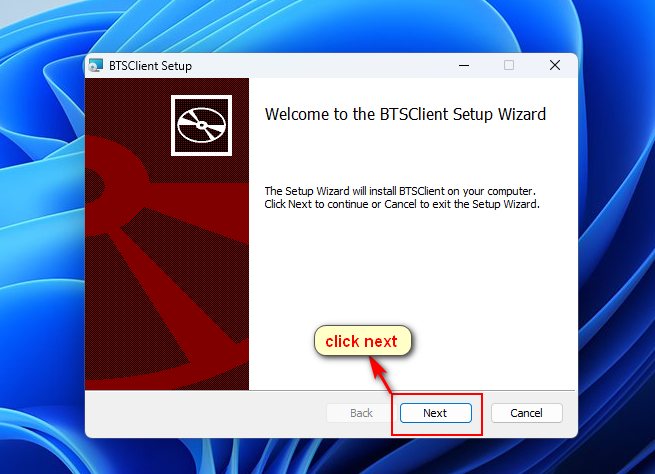
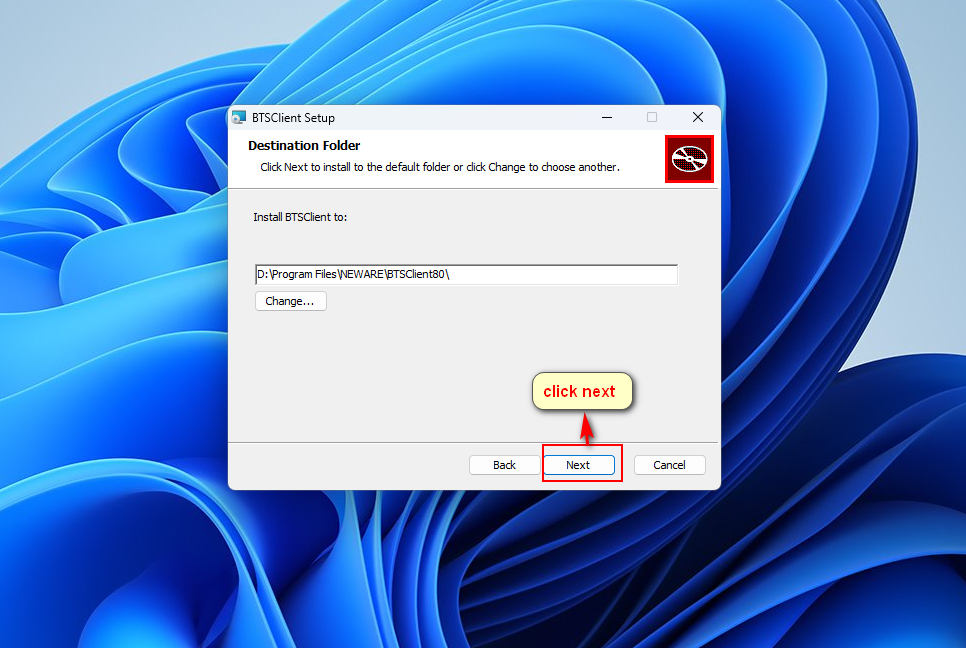
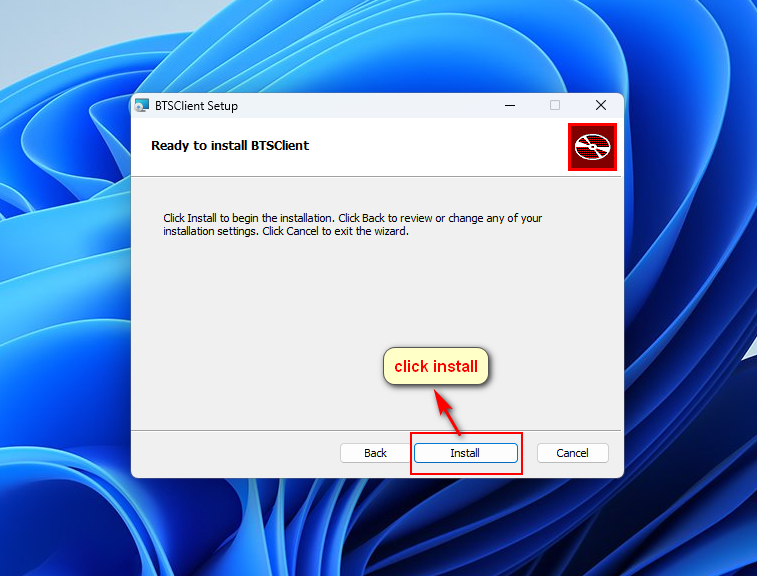
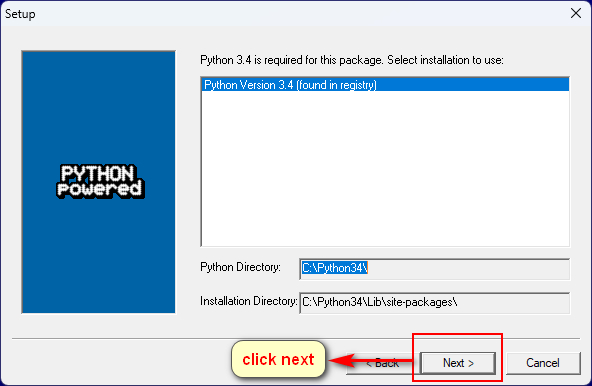
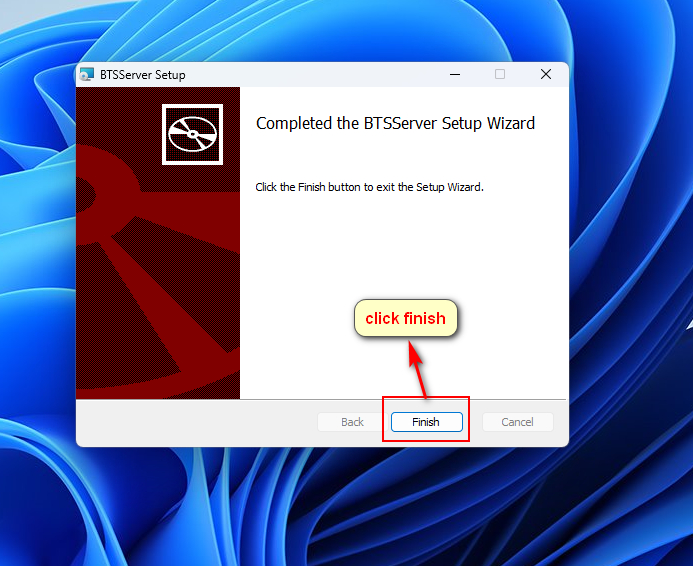
After download BTS 8.0 software,we need right click on the file and click run as administrator, then we just need to follow the instruction below to finish installation.

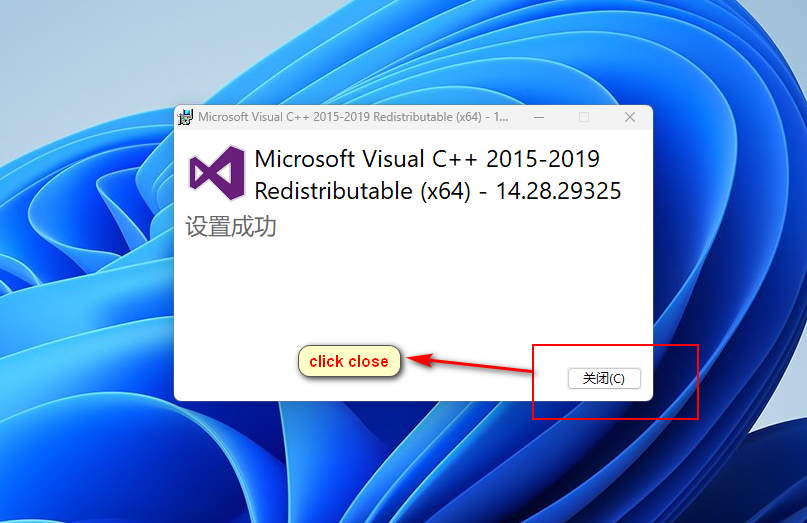
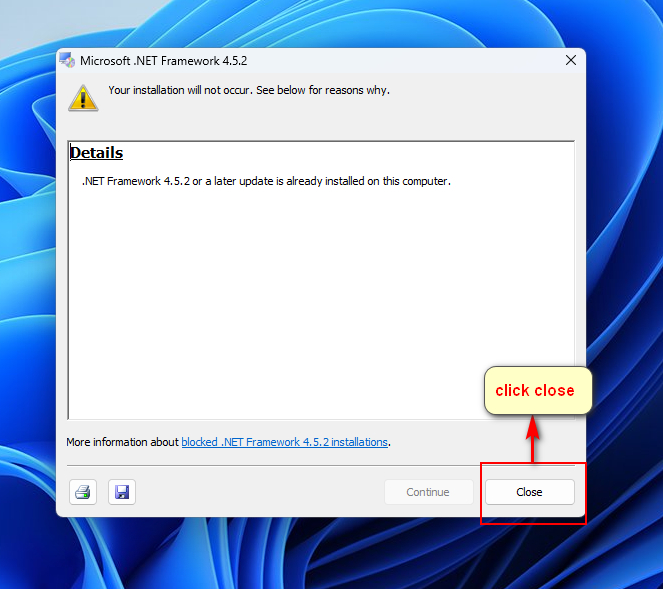
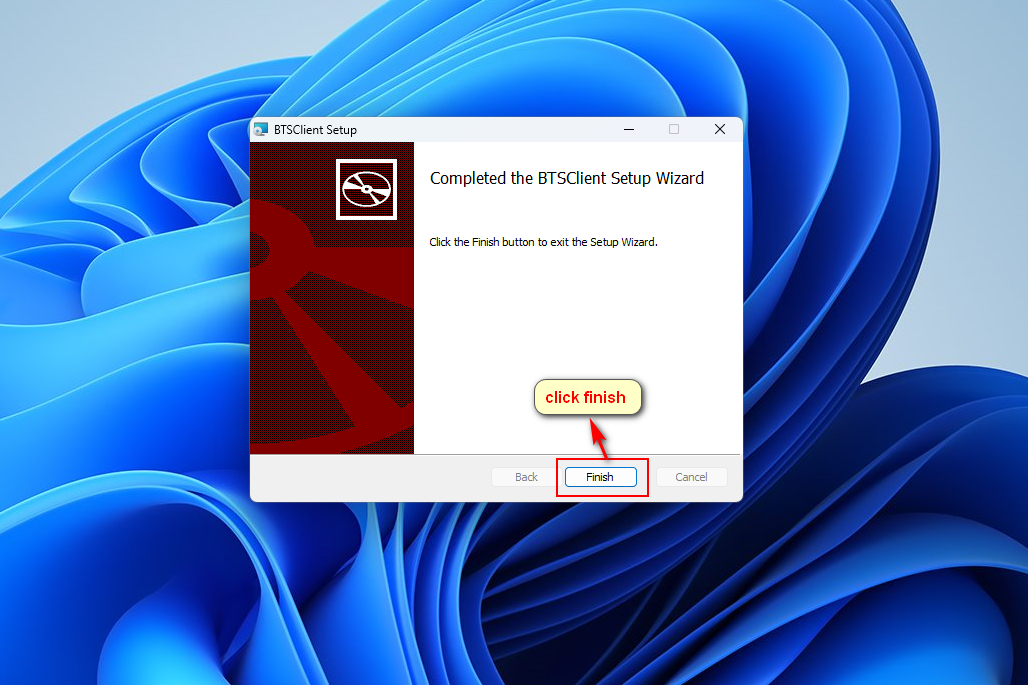


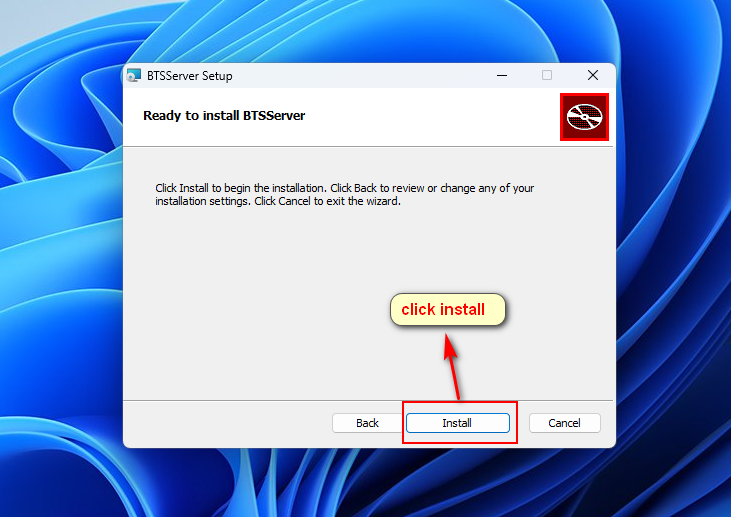
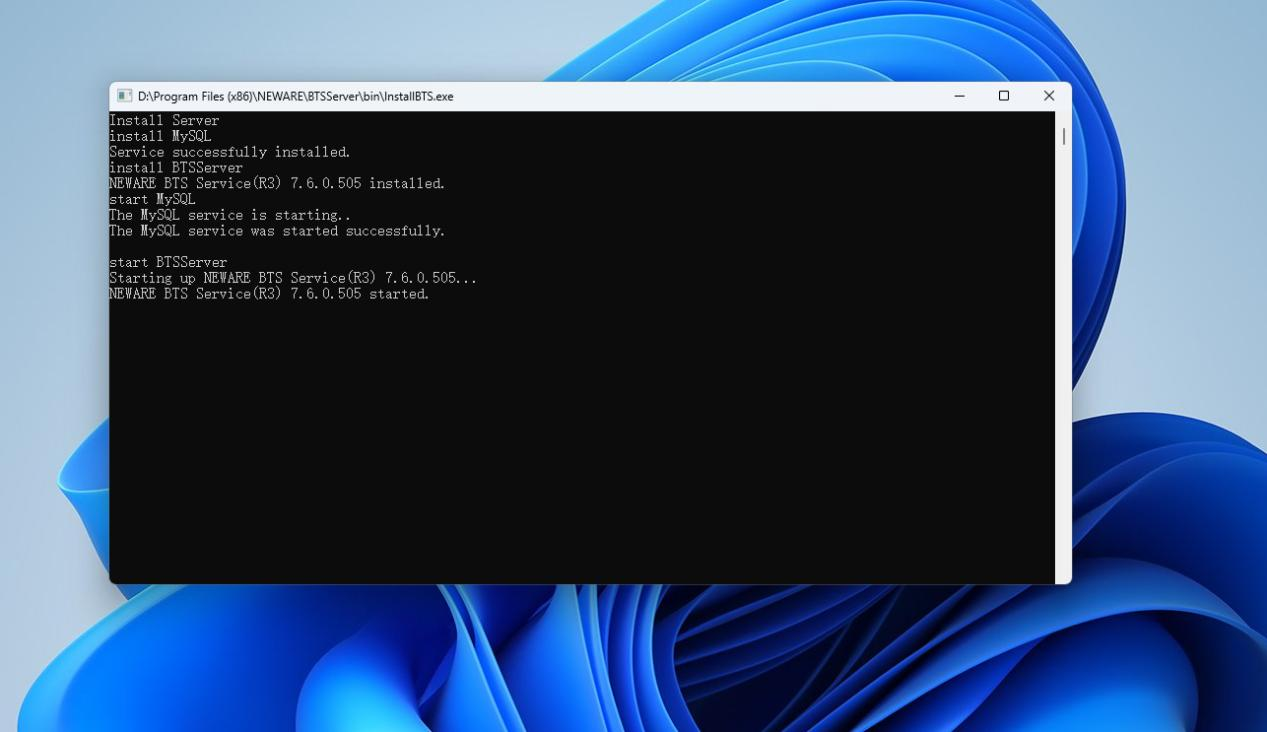
The page below will be closed aromatically, just wait it to be closed.
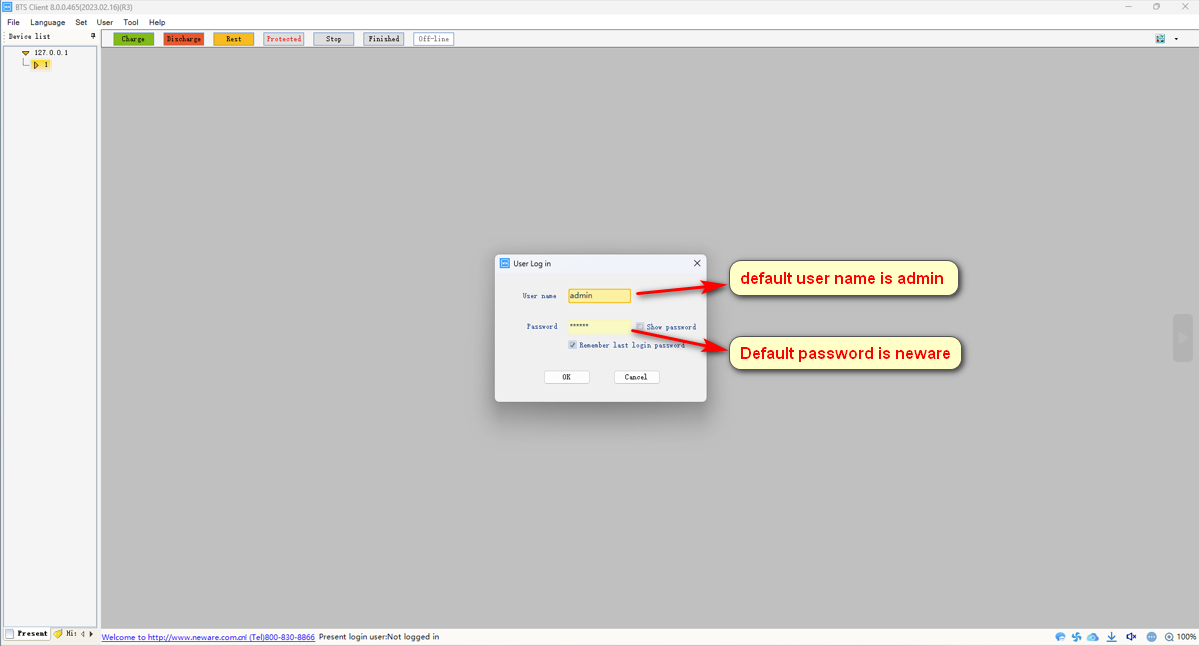
Step 7: BTS 8.0 setup
Open the BTS 8.0 software, log in with default user name and password.
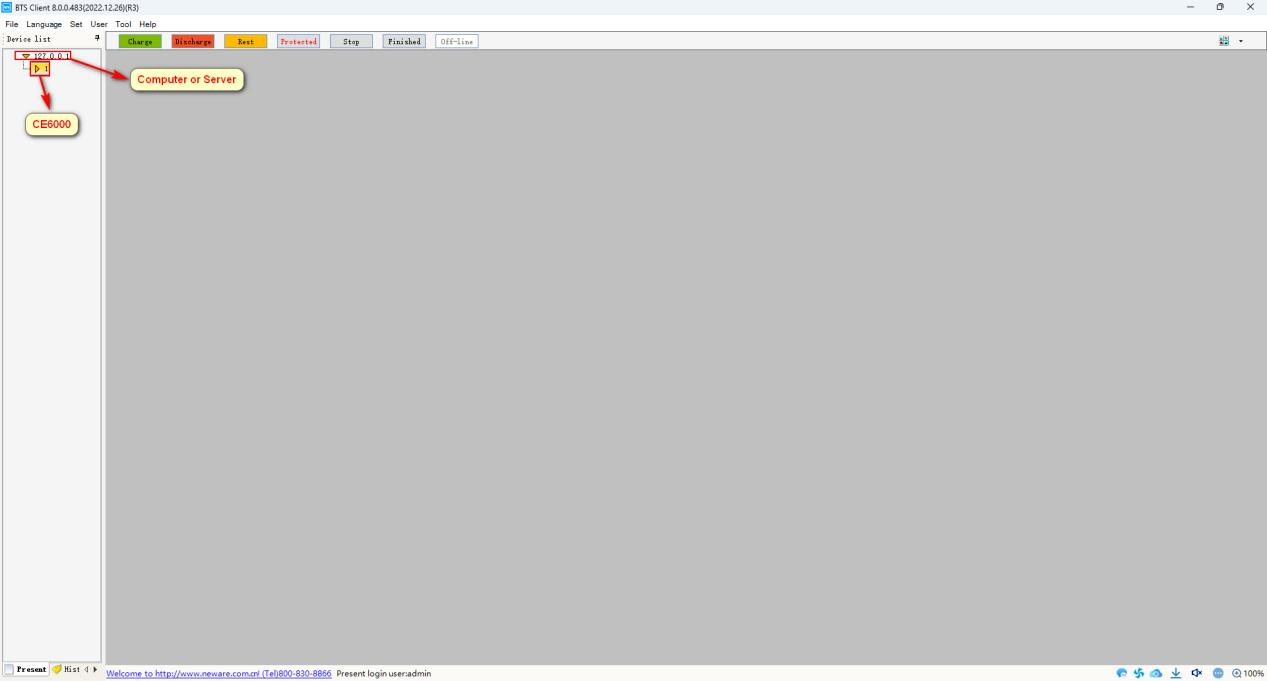
Check if the CE6000 is showing up in the device list. If not, check the physical connection or network configuration.
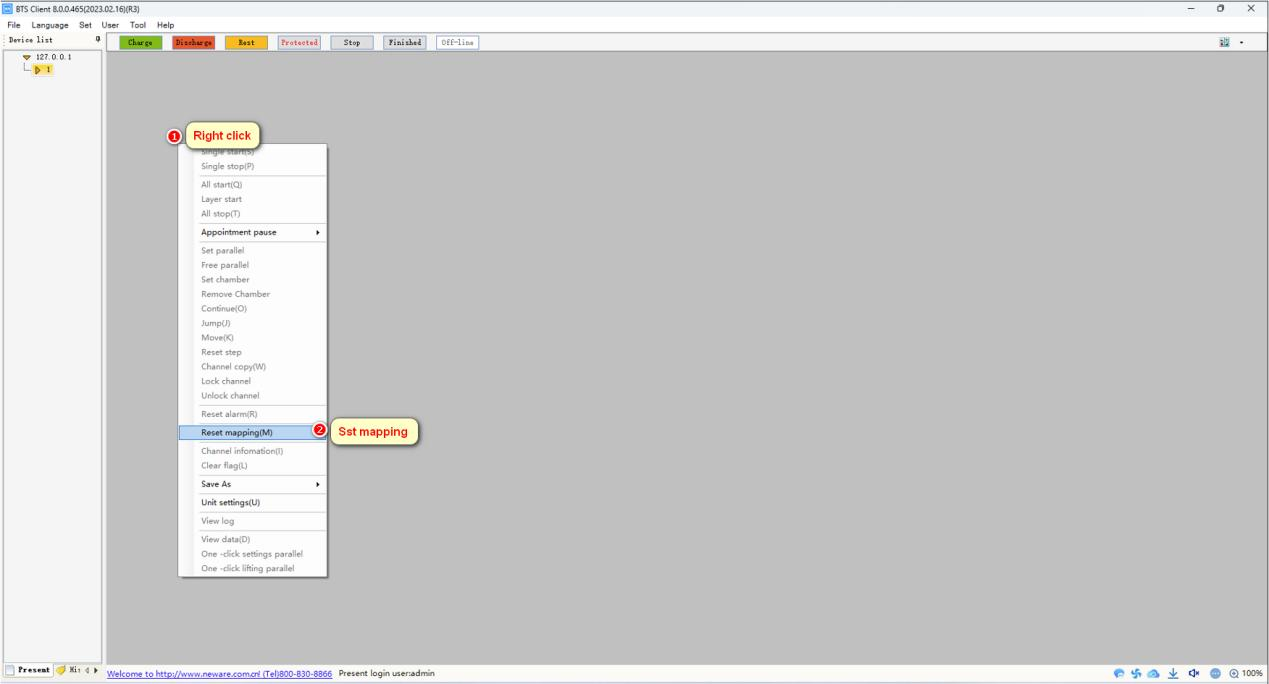
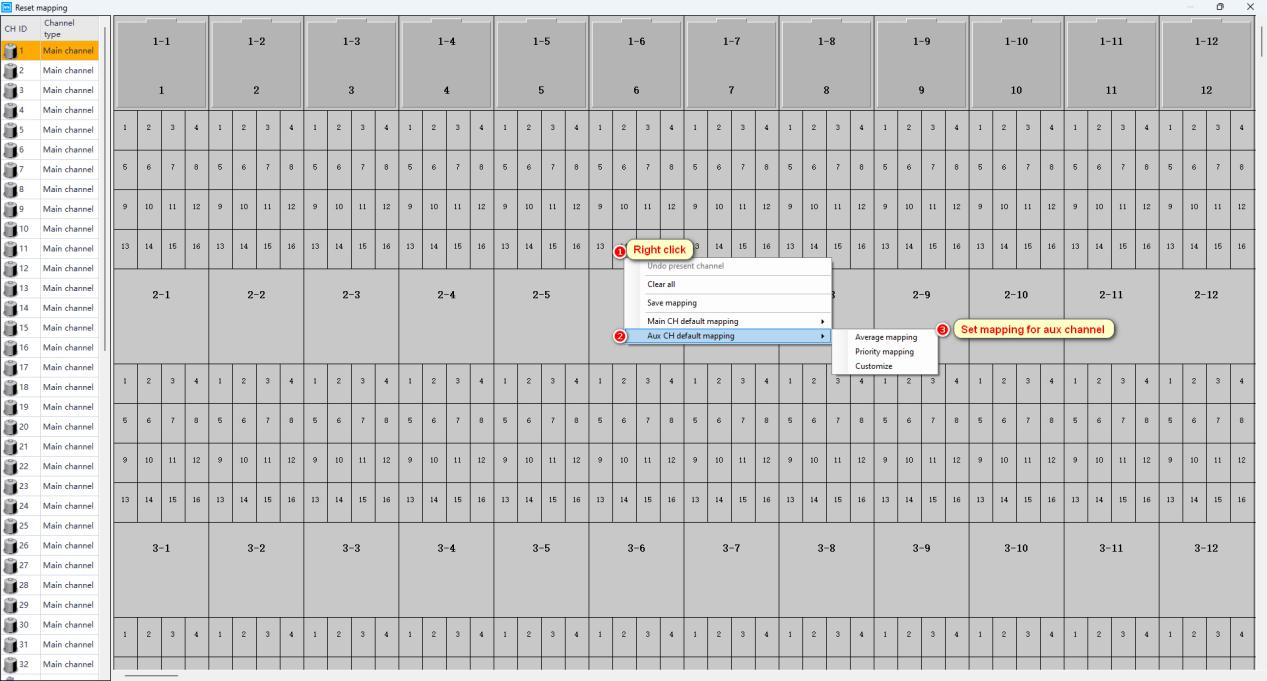
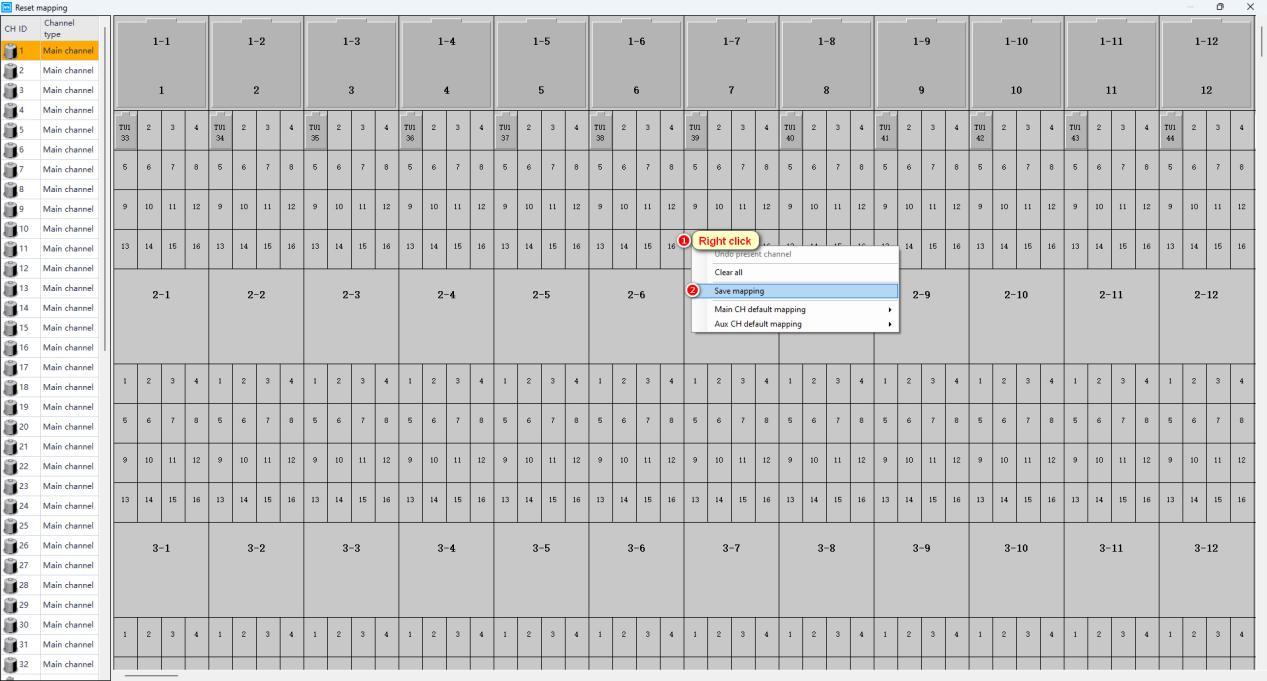
Set mapping according to the model of CE6000 tester

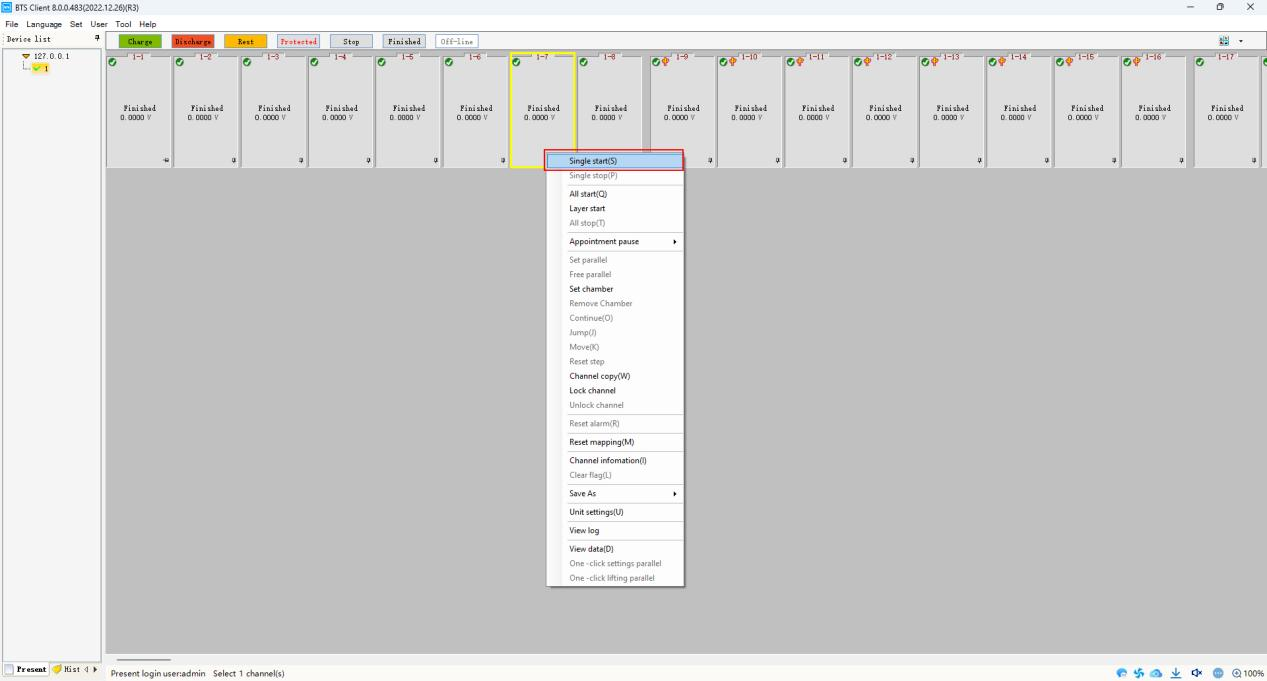
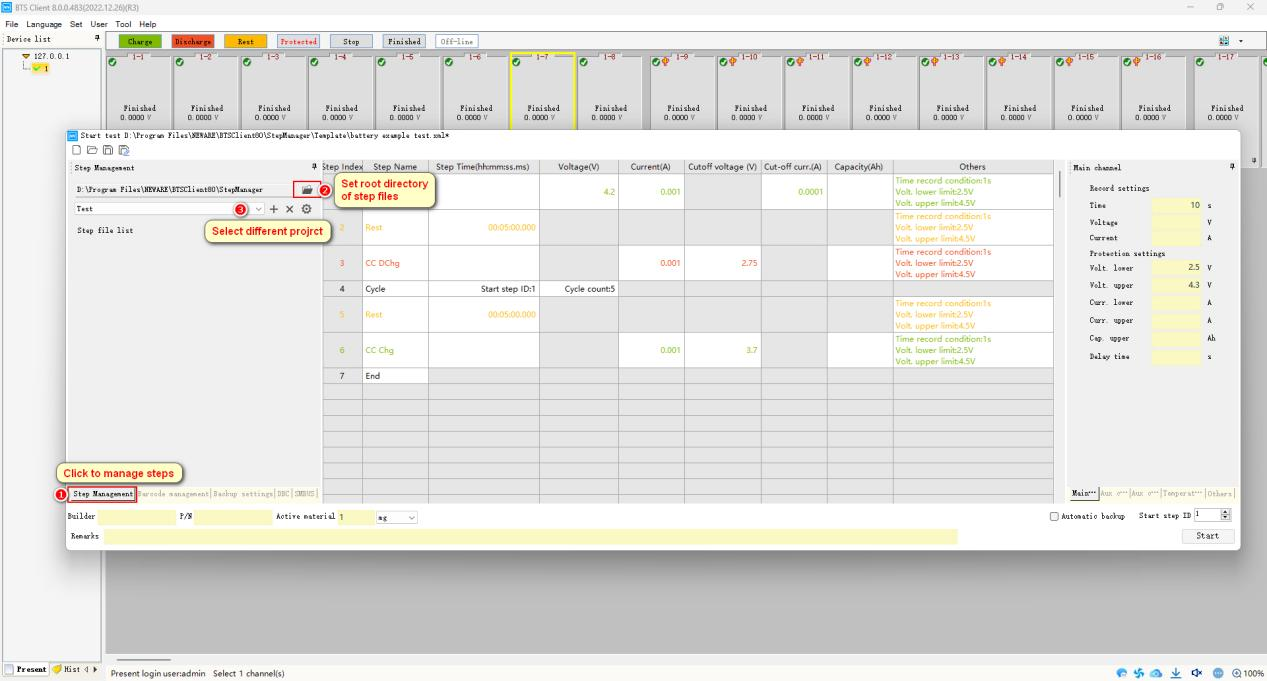
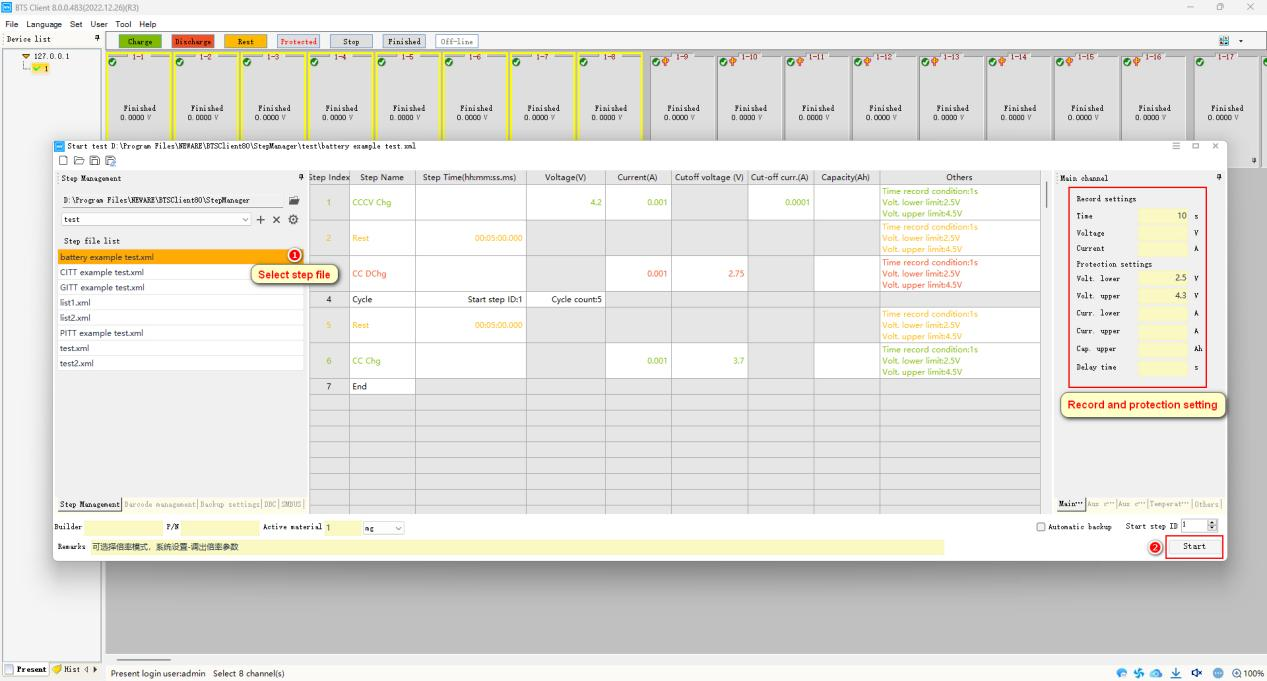
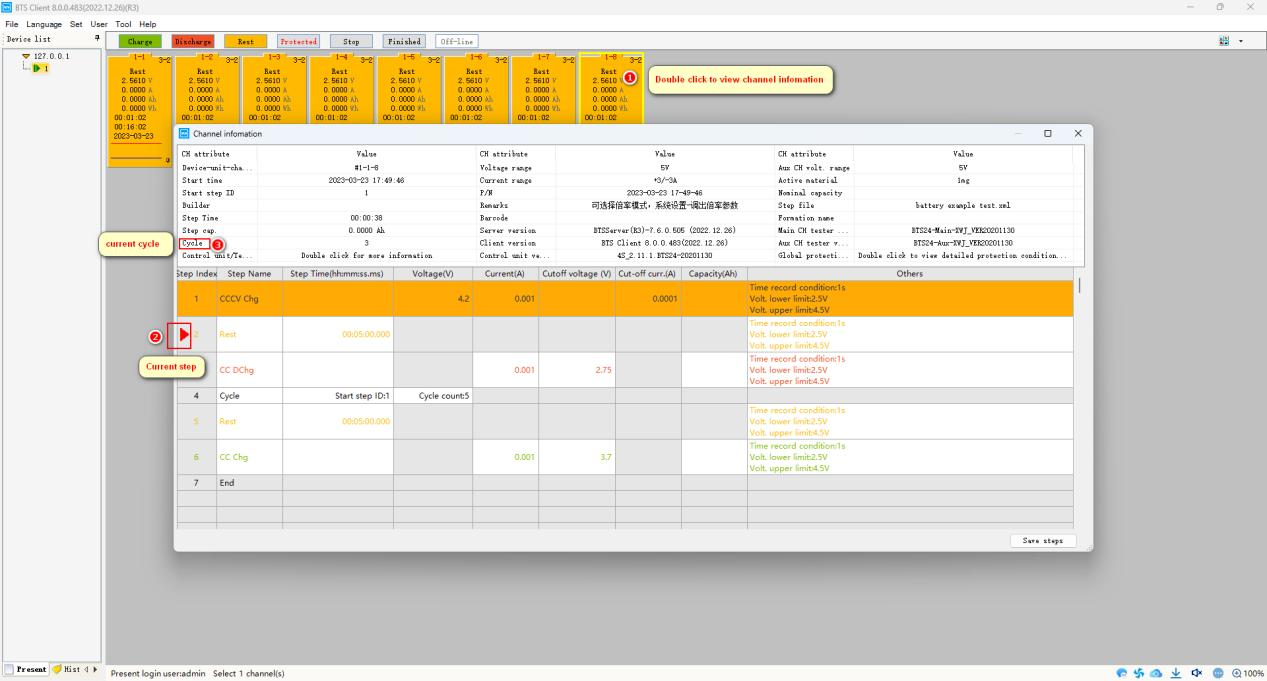
Set up work steps
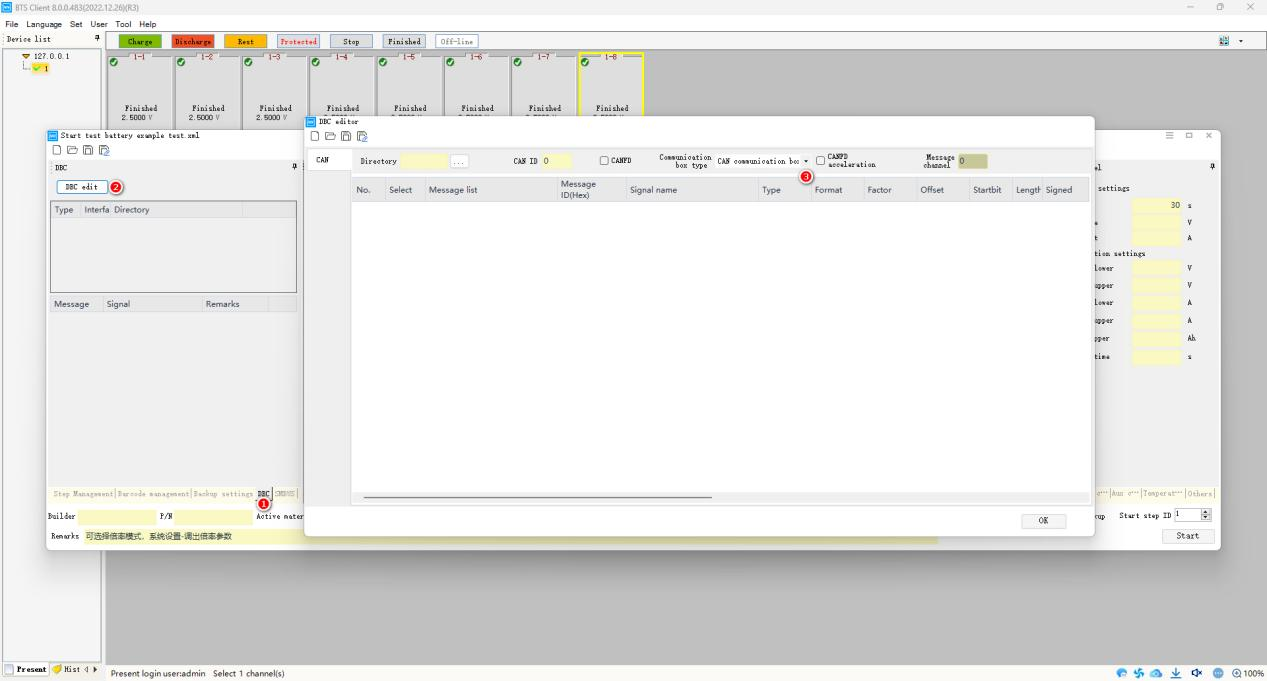
Set DBS setting for different BMS communication
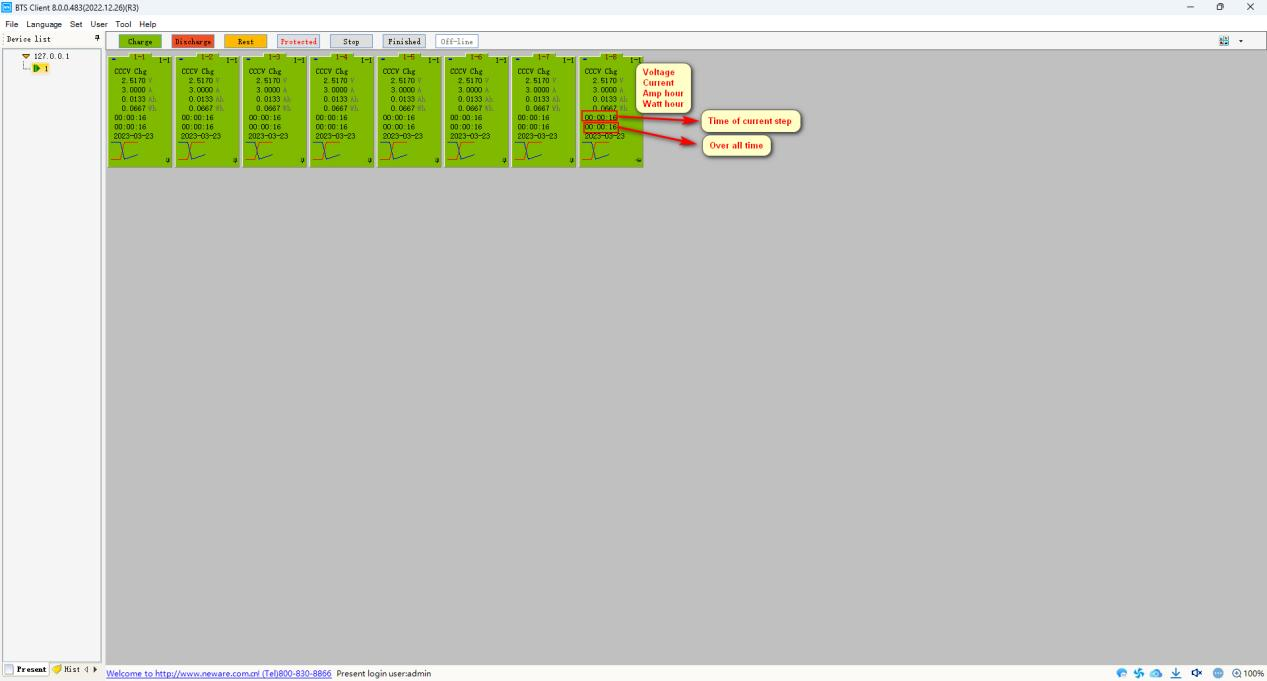
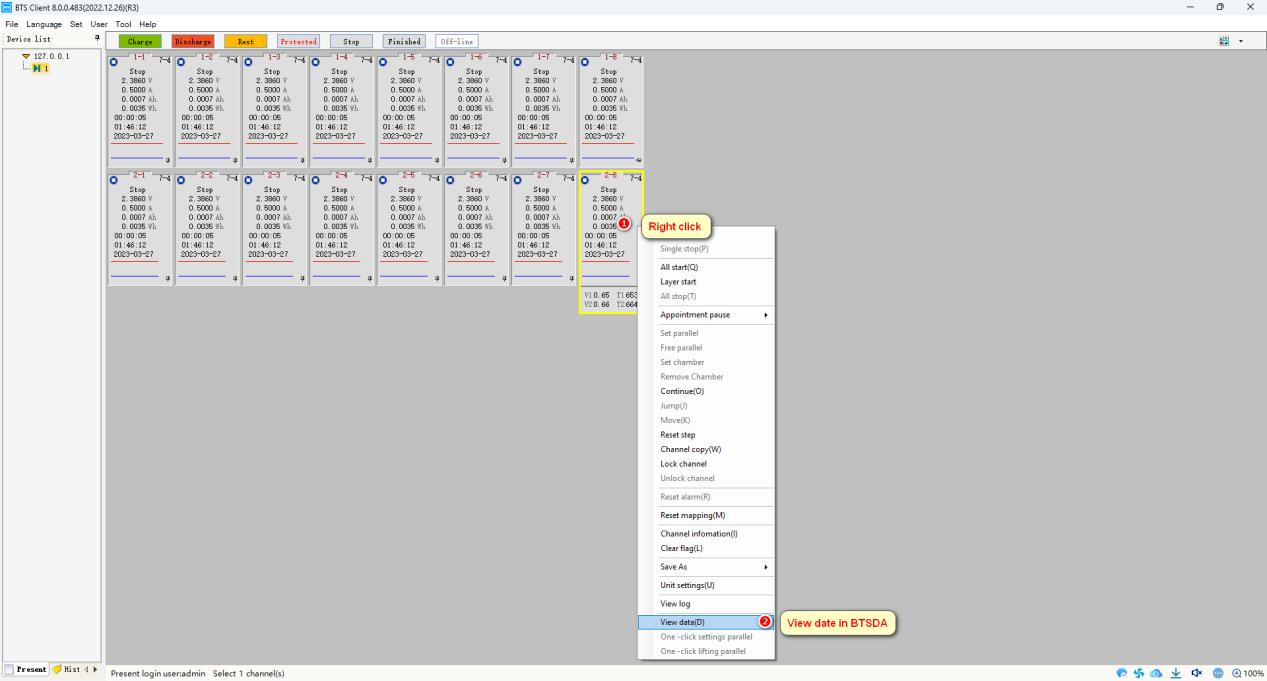
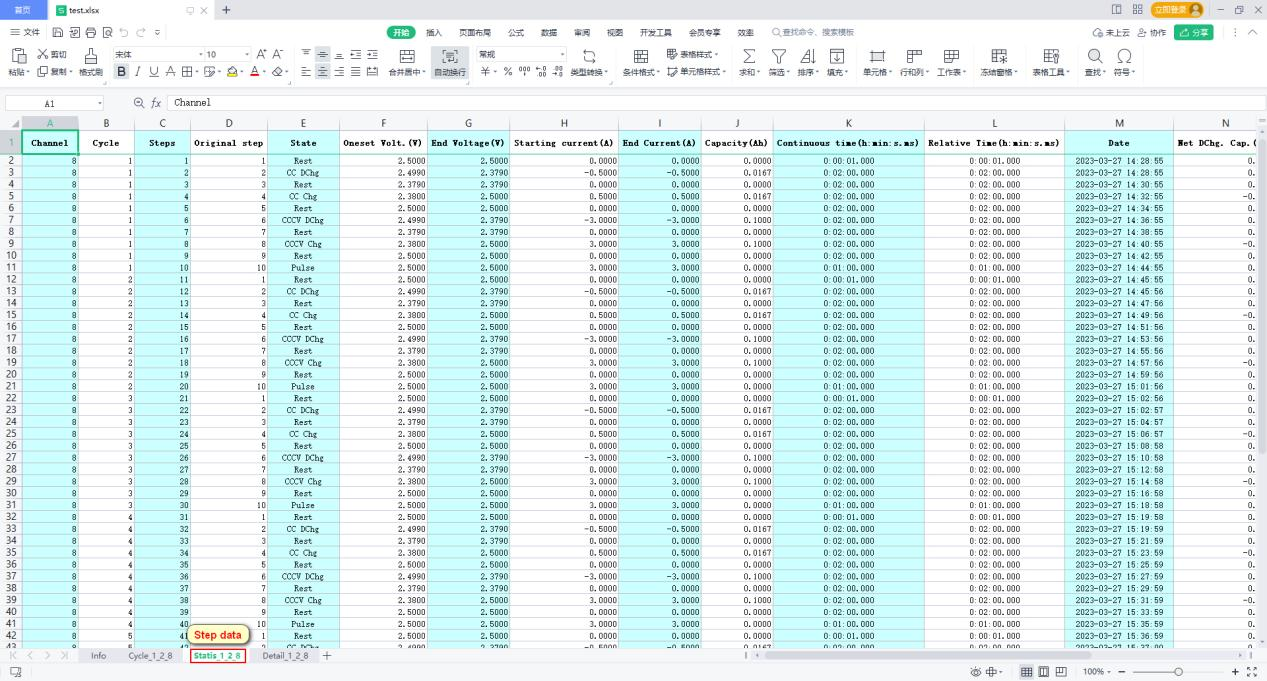
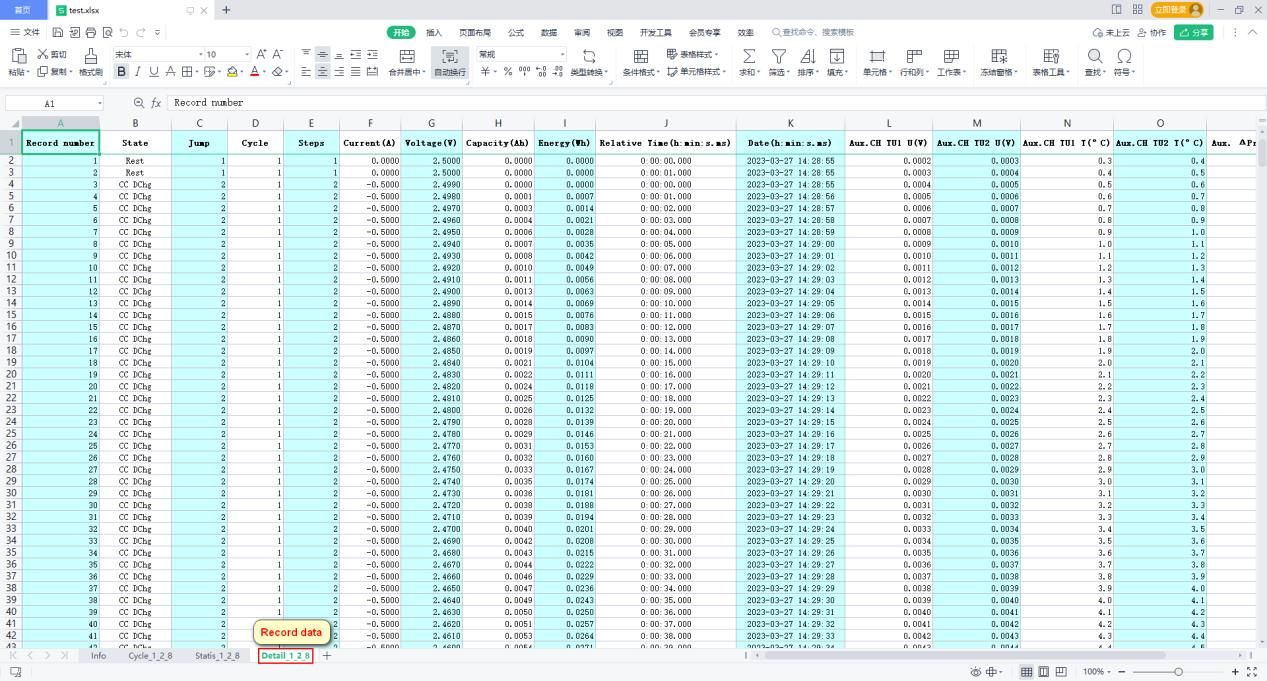
View data
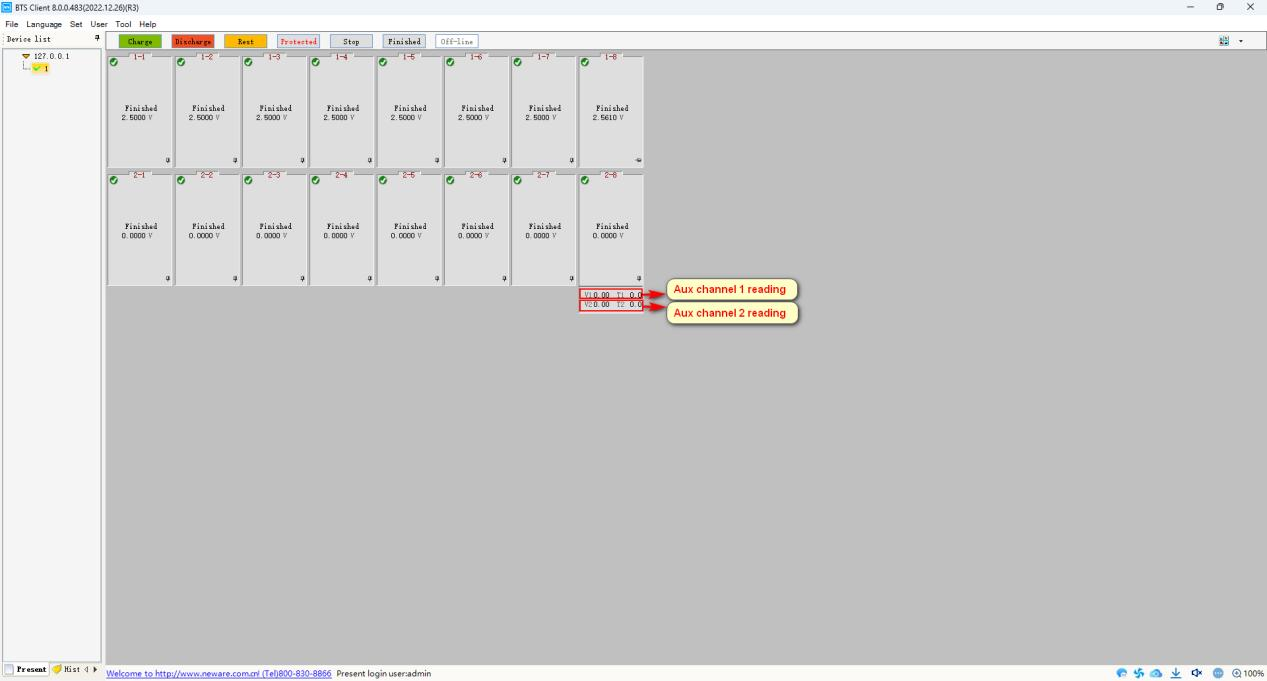
To change view element
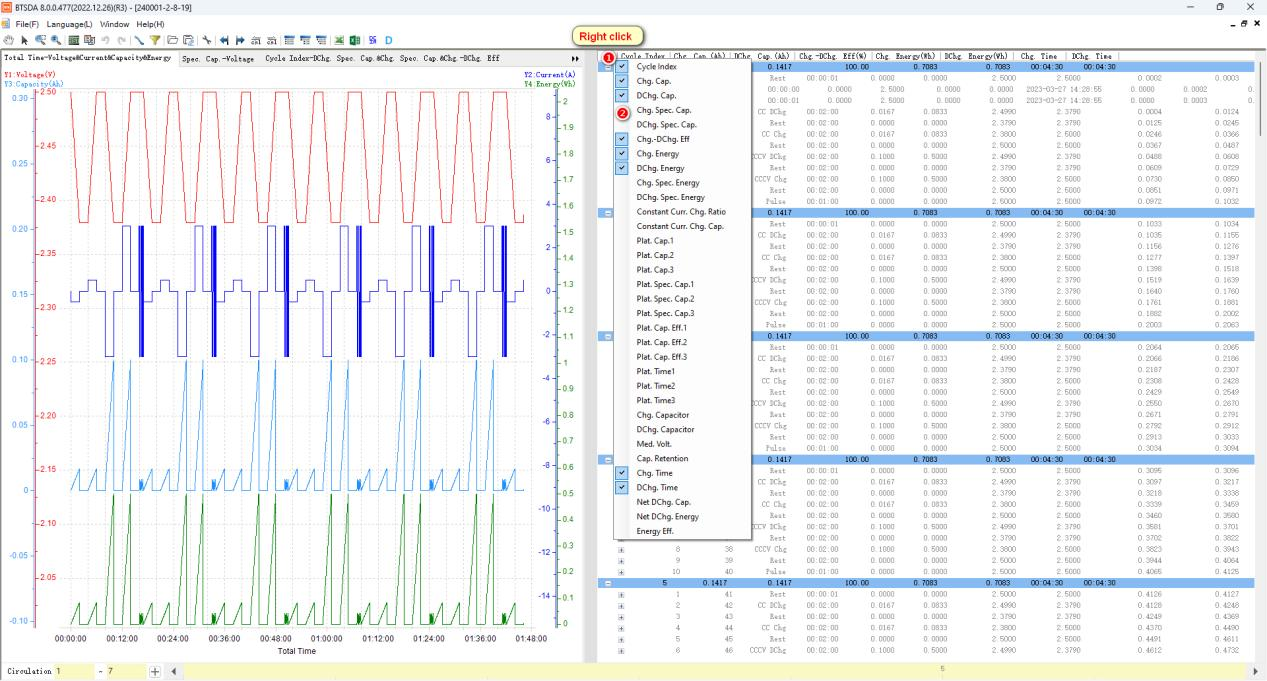
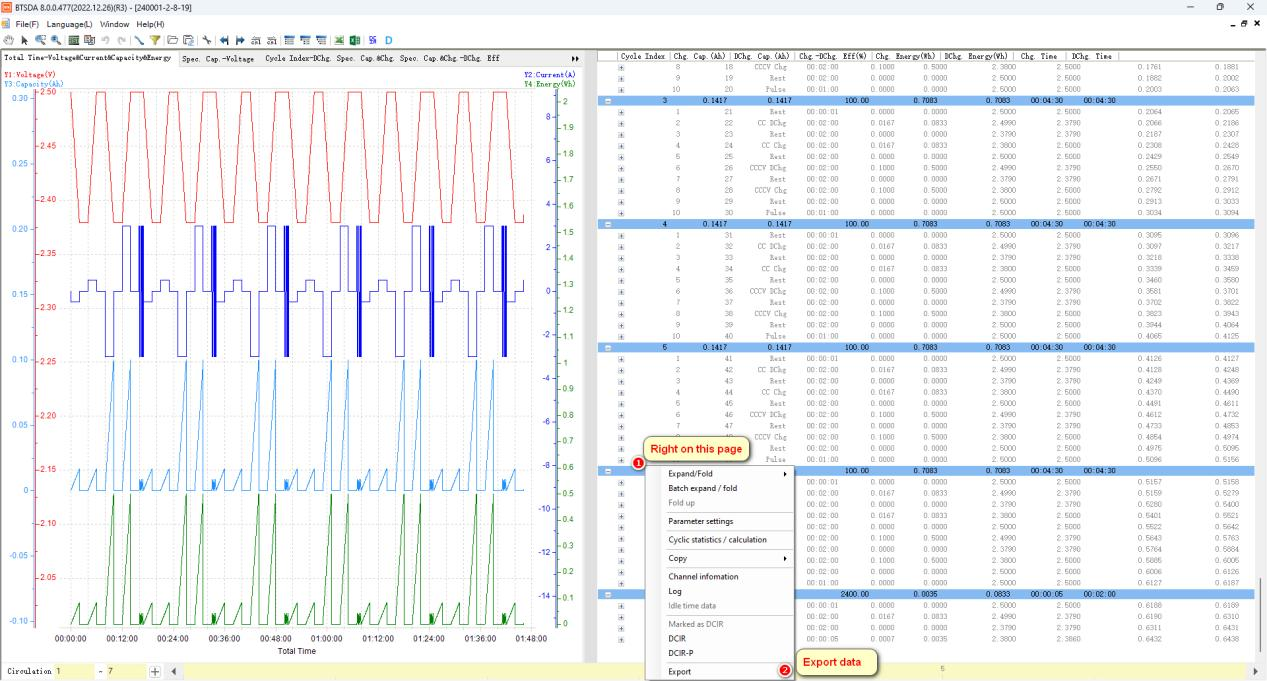
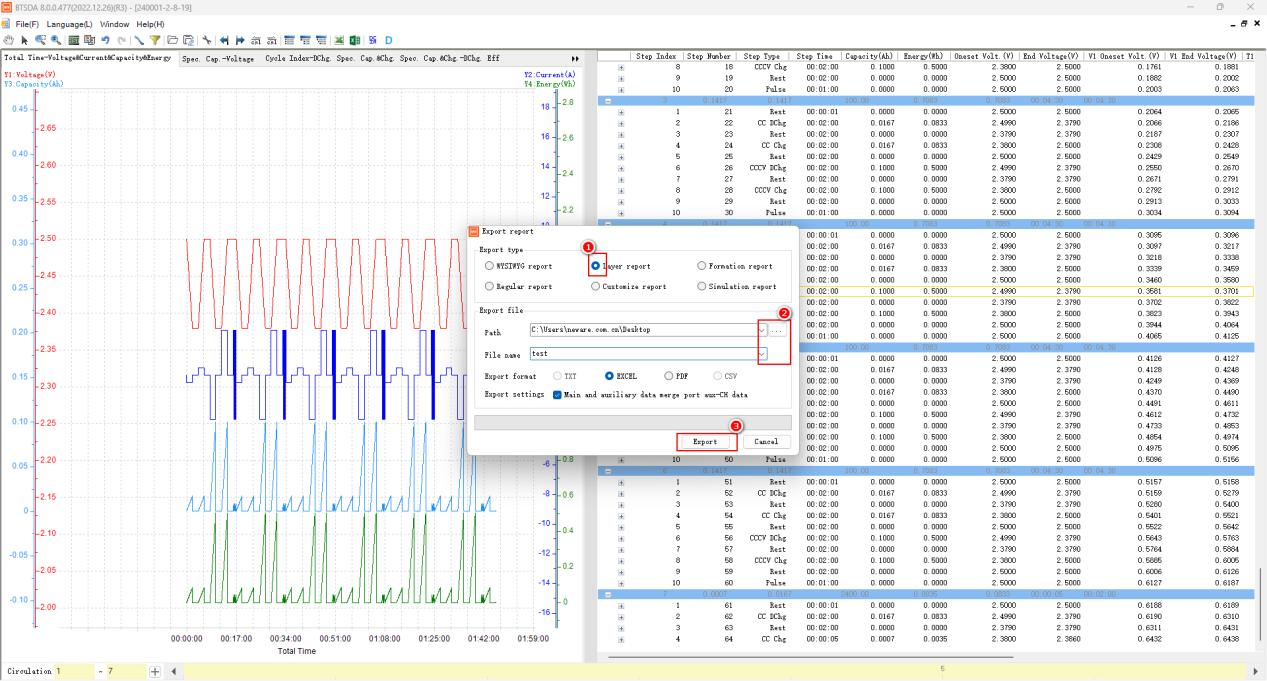
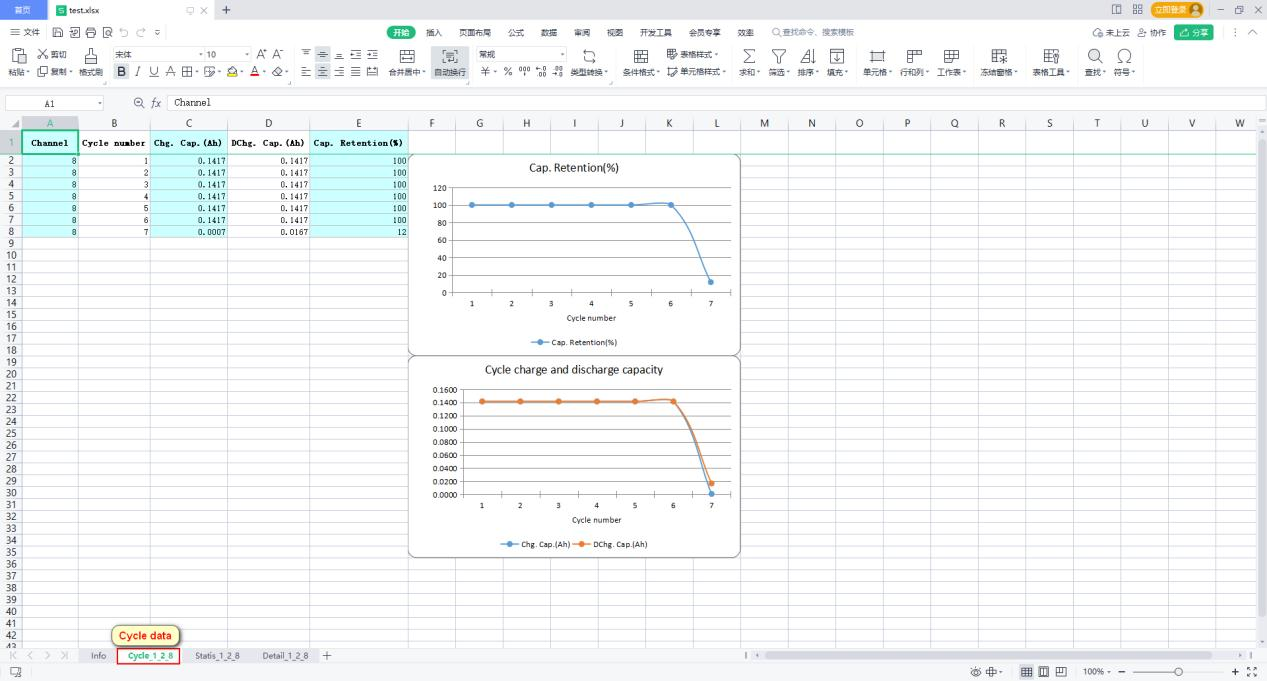
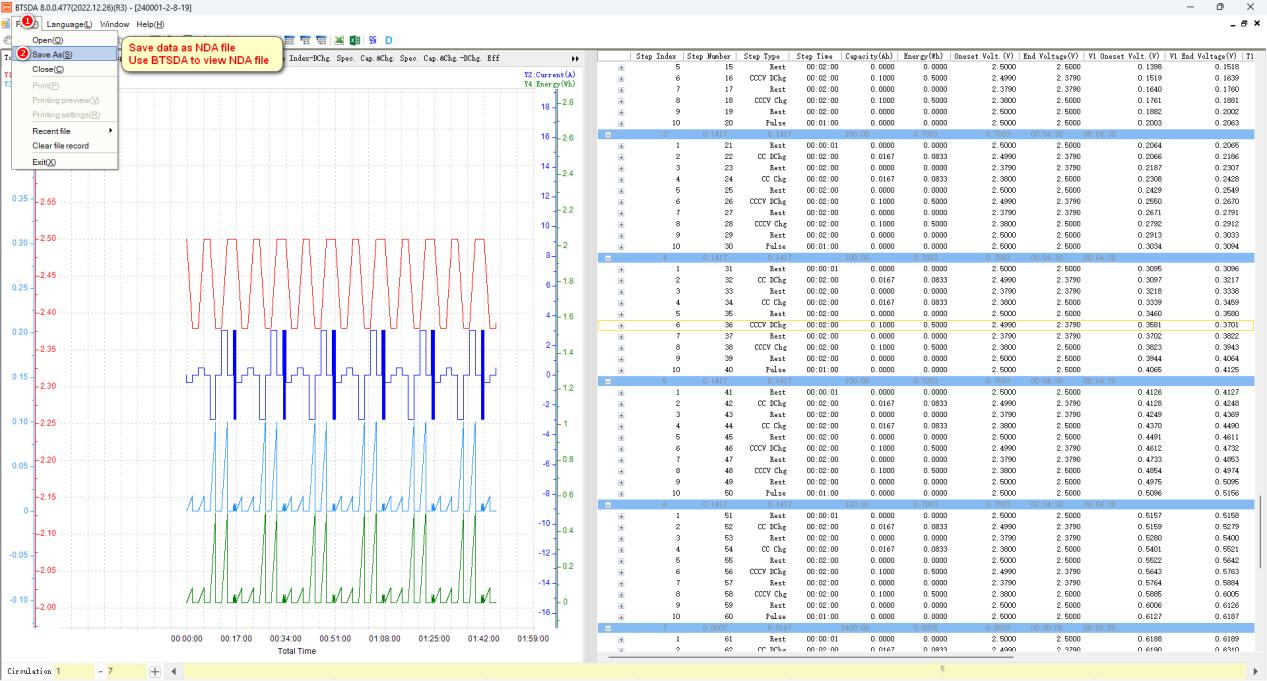
Export data
BTS8.0 latest software download link:
http://www.newarebattery.com/softwares/NEWARE_BTS_8.0.1_20231127_En.exe
BTS 8.0 software user manual download link:
http://www.newarebattery.com/softwares/BTSClient8.0-UserManual.pdf
Please contact us if you have any questions on this.
Comments are closed.


